
This page will introduce you to highlighting, notes, dictionaries, book synchronization, window snapshots, and more.
Tip: Double-click on a word to search for it.

This page will introduce you to highlighting, notes, dictionaries, book synchronization, window snapshots, and more.
Tip: Double-click on a word to search for it.
Scroll through the text or use the table of contents to jump to a section. When you scroll, the citation bar will display your current location in the book.
The Table of Contents panel shows the structure of the text. Table of contents entries will often be referred to as reference levels.
Note: If you upload your own text, it will not automatically include a table of contents.
+ to expand the levels.Right click > Reposition Table of Contents to open the table of contents to your current location in the text.Book > Options and switch the default table of contents.Shortcut: ALT + Left/right arrow.
WordCruncher remembers the windows you have viewed. This includes any searches, reports, or hyperlink jumps.
How to Use:
In the WordCruncher toolbar, select Go > Back/ Forward.
If a hyperlink leads to a spot within the same book, the link will open in the current window. You can also
choose to open the hyperlink in a separate window by right-clicking on a hyperlink > Execute Hyperlink in a
New Window.
A snapshot remembers your whole window. It will save your spot in every book you have open, in addition to other open windows.
To change snapshot settings, go to the WordCruncher toolbar, click Edit > Preferences, and select the Workspace tab.
Go > Take Snapshot.OK.Go > Snapshots.Some books are synchronized so that when you read them side-by-side, they move together. For example, you could download the same book in two different languages from the bookstore, and they will automatically synchronize as you scroll.
The bookstore offers the following synchronized multi-language books:
In the toolbar, click Book > Pin the window (no synchronization).
You may have texts of your own that you would like to synchronize. If your texts have the same ETTX tag and reference levels (set in the ETAX file), then they will synchronize when you index them. Learn more about the ETTX tag.
Add notes, highlight the text, and categorize your markup with topics.
Create Note icon.Save icon.Reposition Note icon.Save icon.
When you create a note, WordCruncher saves it in a note file on your computer. To view
the location of these note files, reattach note files, or remove note files, go to the
Note Files menu: in the WordCruncher toolbar, go to Note > Properties.
The three highlighter icons in the toolbar allow you to have multiple highlighters available at one time.
highlighter drop-down > Change Marker Color.OK.highlighter drop-down > Delete Highlight from the menu.Enhance your qualitative markup by creating a topic. Then, attach the topic to highlights or notes.
After you assign a topic to highlights or notes, you can search within that topic’s associated highlighted text and notes by using Note-topic bounds.
How to Use:
highlighter drop-down > Edit Topics....Add.OK.Save.Save your spot in a book.
Right-click > Add Bookmark....Optional: Assign it to a folder.
OK.Right click > Bookmarks....OK.Update or replace the location of an existing bookmark.
right click > Bookmark (replace)....If you select this, the name of the bookmark will match the new citation.
Replace.If you have many bookmarks, create folders to keep them organized.
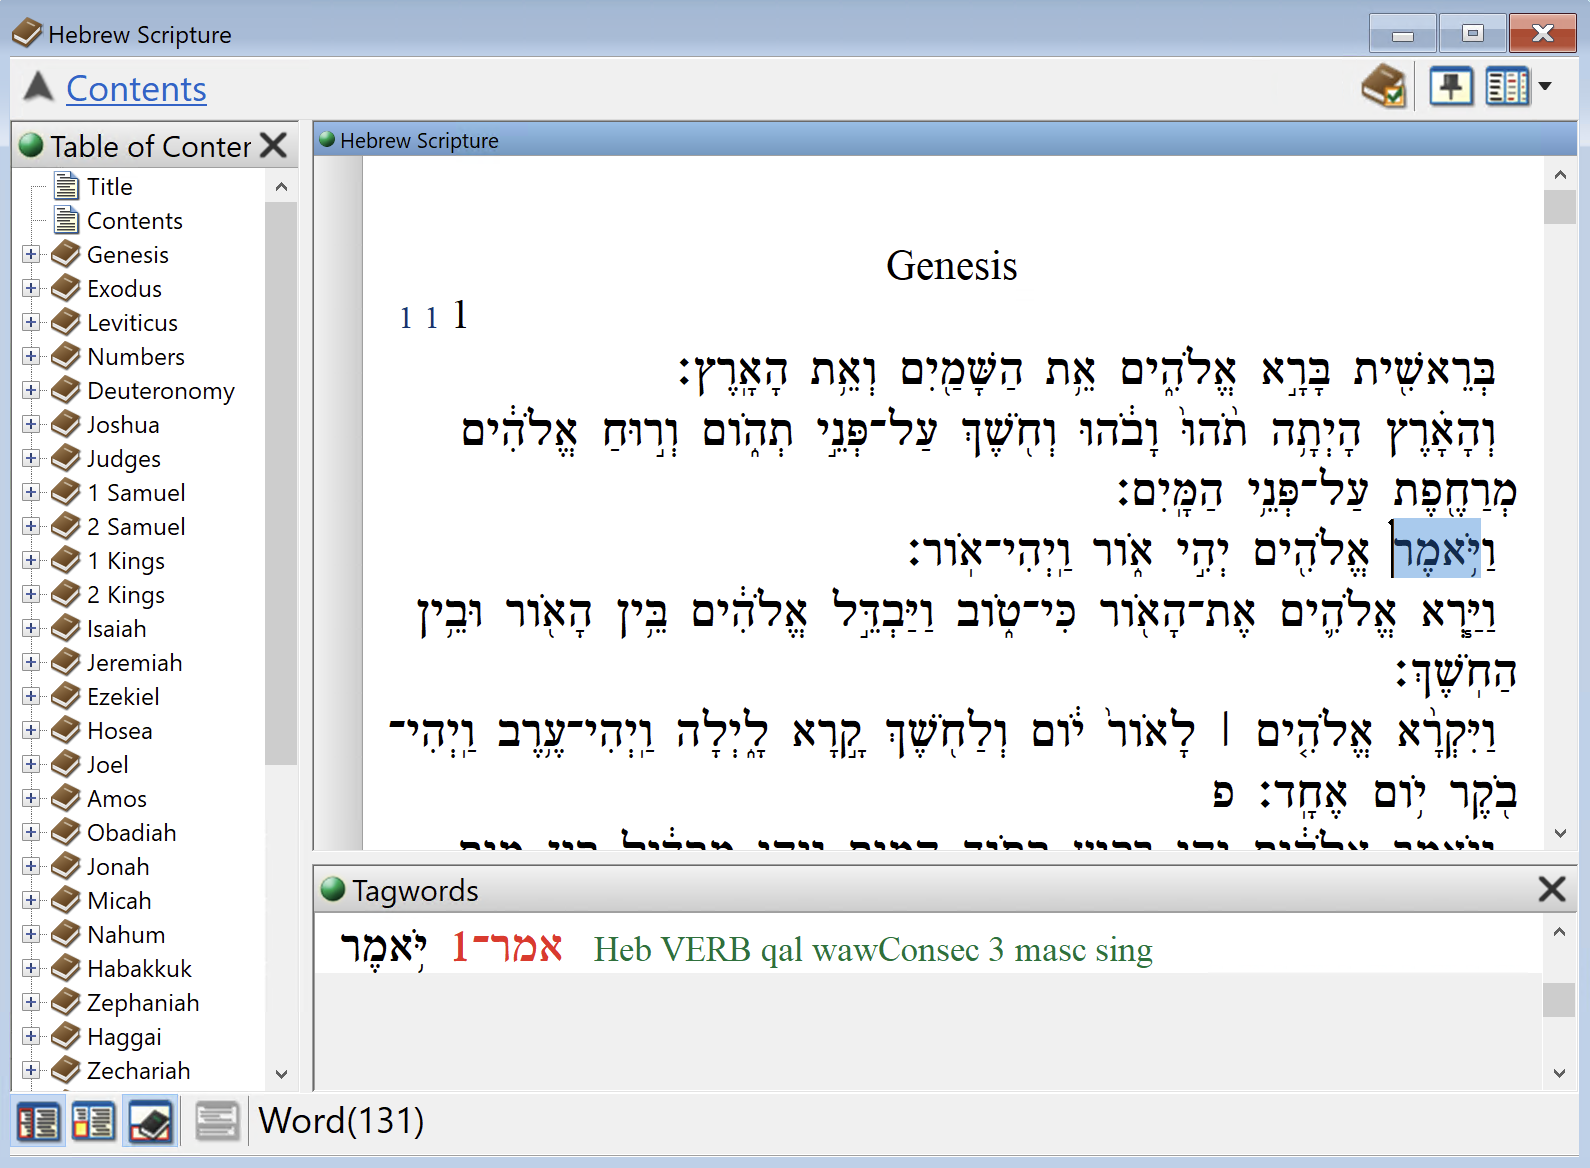
Right click > Add Bookmark....Create Folder.OK.Right click > Organize Bookmarks....Options.OK.Some books have associated tagwords—metadata attached to a word or section. For example, Hebrew Scriptures (part of the Dead Sea Scrolls Electronic Library – Biblical Texts) contains tagwords with morphological data.
How to Use:
Tagwords panel.By default, the tagwords menu will update when you hover. To show tagwords by clicking instead of hovering, go to Book > Tag Window Click Mode.
Look up a word to see its definition.
Some books (like The Scriptures) come with dictionaries. If you do not have a dictionary downloaded, try Noah Webster’s 1844 American Dictionary of the English Language.
Note: If you have just installed a new dictionary, you may need to close and reopen WordCruncher before using it.
How to Use:
Right click > Look Up This Word In Dictionary.Adjust the window and show/hide book features.
Keep a window docked to the side.
Window > Dockable Tool Window.To hide the docked window, click X in the top right corner.
Window > Dockable Tool Window.Keep your place while reading. In the toolbar, click View > Reader Bar.
Choose to display or hide tagwords, reference levels, superscripts, parts of speech, and other features in a specific book.
Book > Options.OK.To show part of speech markup (in books tagged by part of speech) and further customize software display, adjust your User Preferences.
Edit > Preferences.View tab, select whether you would like to view primary parts of speech (POS) only, all POS markup, POS abbreviations, and POS colors.In this same tab, you can also change the software language, show larger icons (Use large toolbar bitmaps), and disable the search window spell checker.
A reference book is a resource, such as a dictionary, translation guide, or appendix, which you can assign to a book.
File > Open Book....Options > Properties > Options....Reference Books tab.OK.